Introduction
In the world of serverless computing, the term monolithic Lambda refers to a single Lambda function that handles multiple routes and use cases, as opposed to microservices with multiple Lambdas. This approach is simple, cost-effective, and ideal for smaller applications or proof-of-concepts.
In this guide, we’ll walk you through setting up a Monolithic Lambda using NestJS, a modular and versatile Node.js framework, and the Serverless Framework, a powerful tool for deploying serverless applications to AWS. While this guide won’t create a fully functional application, it will equip you with the knowledge to set up the foundation for your Monolithic Lambda.
If you prefer, watch a video tutorial instead of reading here you go…
Step-by-Step Guide
Prepare Your Environment
Before starting, ensure you have the following tools installed:
- Node.js (LTS version recommended)
- Serverless Framework (Install via
npm install -g serverless) - NestJS CLI (Install via
npm install -g @nestjs/cli) - AWS CLI with valid credentials
Generate a NestJS Project
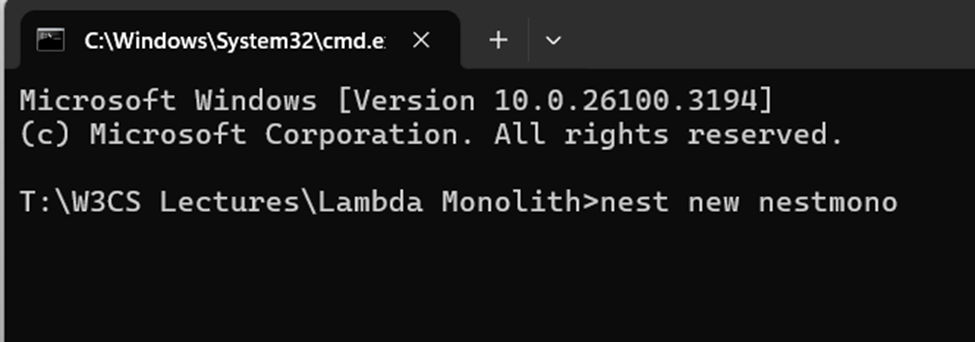
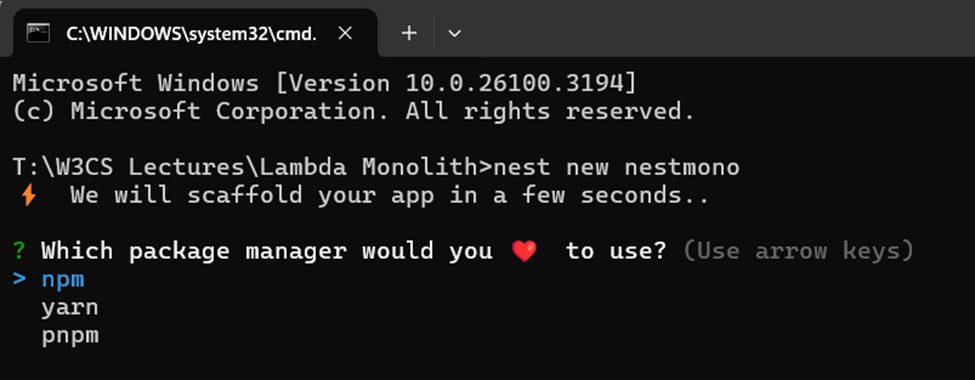
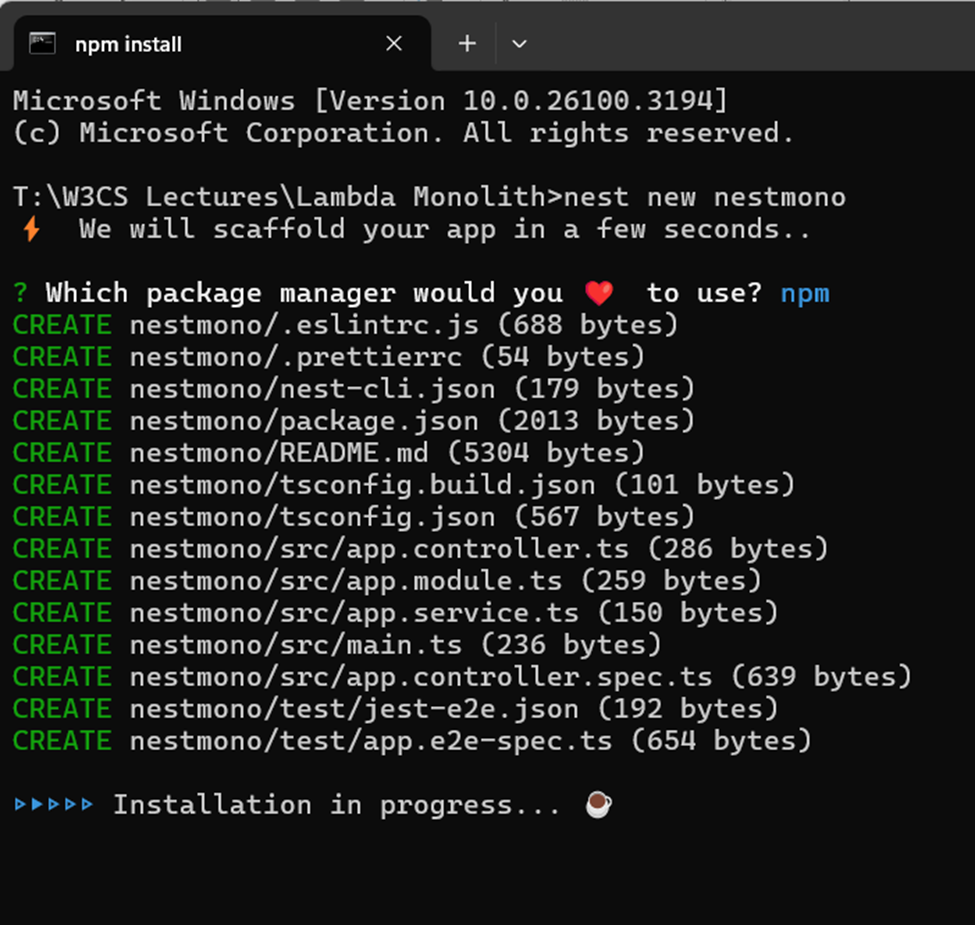
On the terminal run -> nest new nestmono
Once installation is completed, follow below steps to open it in VS code editor

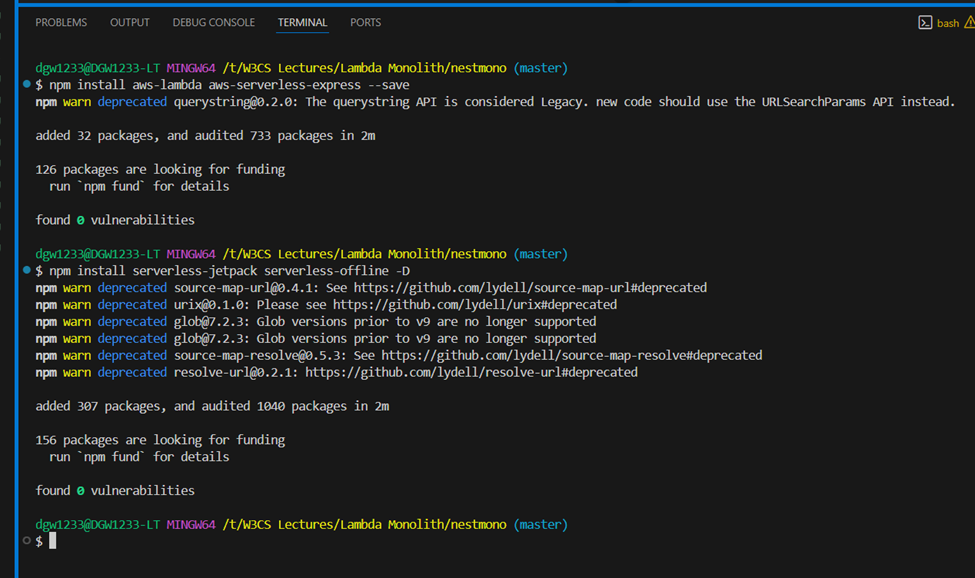
Once opended in the VS Code Editor, run below commands to install the below dependencies.
npm install aws-lambda aws-serverless-express –save
npm install serverless-jetpack serverless-offline -D
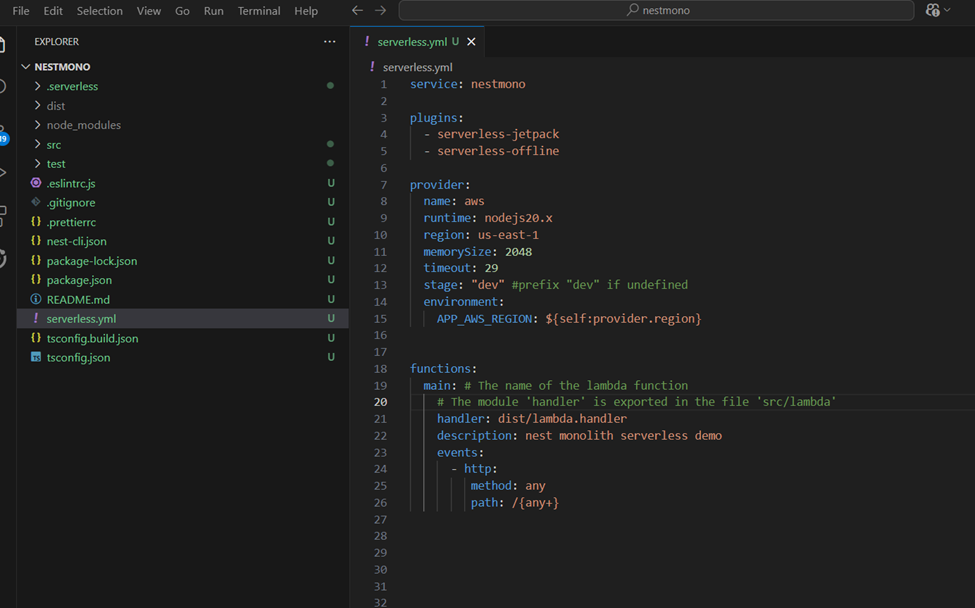
Create a new file “serverless.yml” in the root folder and add below code.
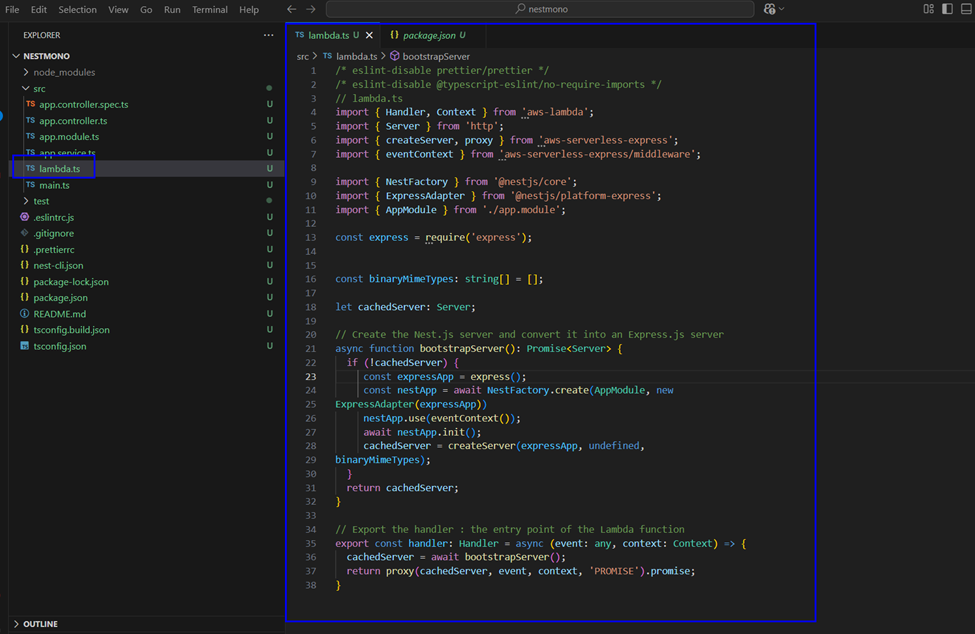
Create new file “lambda.ts” under src directory and copy the code
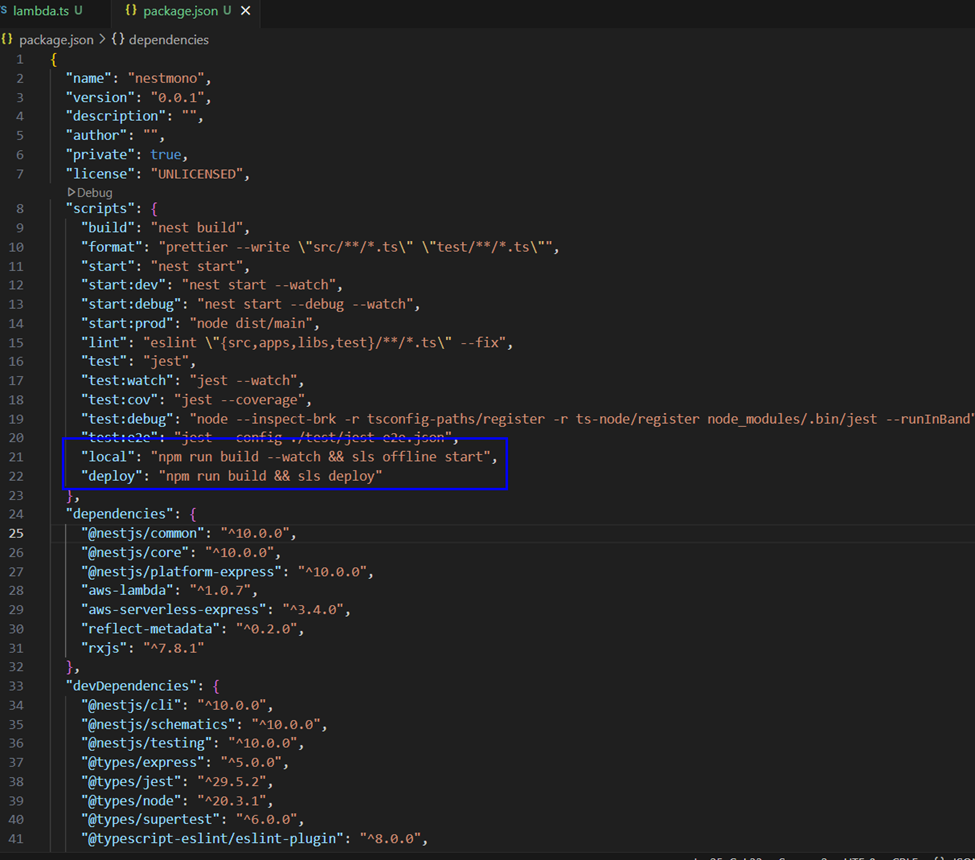
In the script section of package.json, add below script portions
“local”: “npm run build –watch && sls offline start”,
“deploy”: “npm run build && sls deploy”
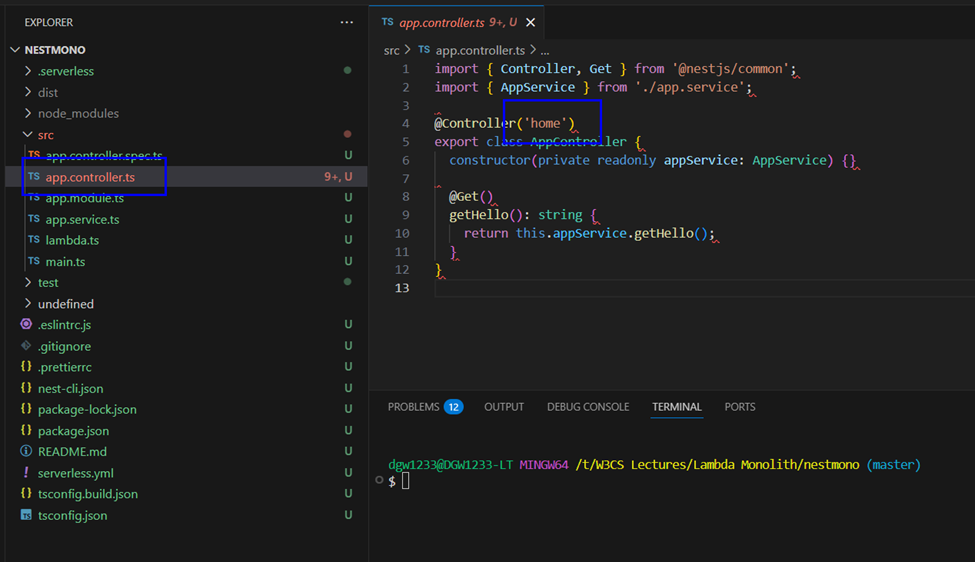
Add “home” to the default appcontroller’s controller decorator
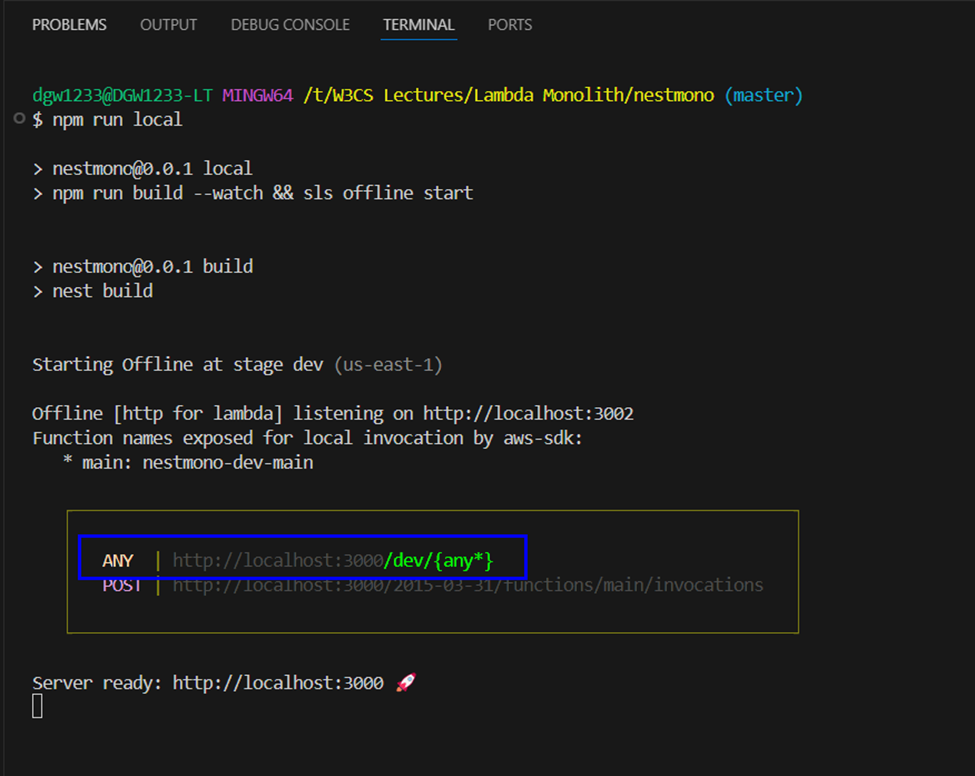
Now it is time for the test,In terminal enter below command
npm run local
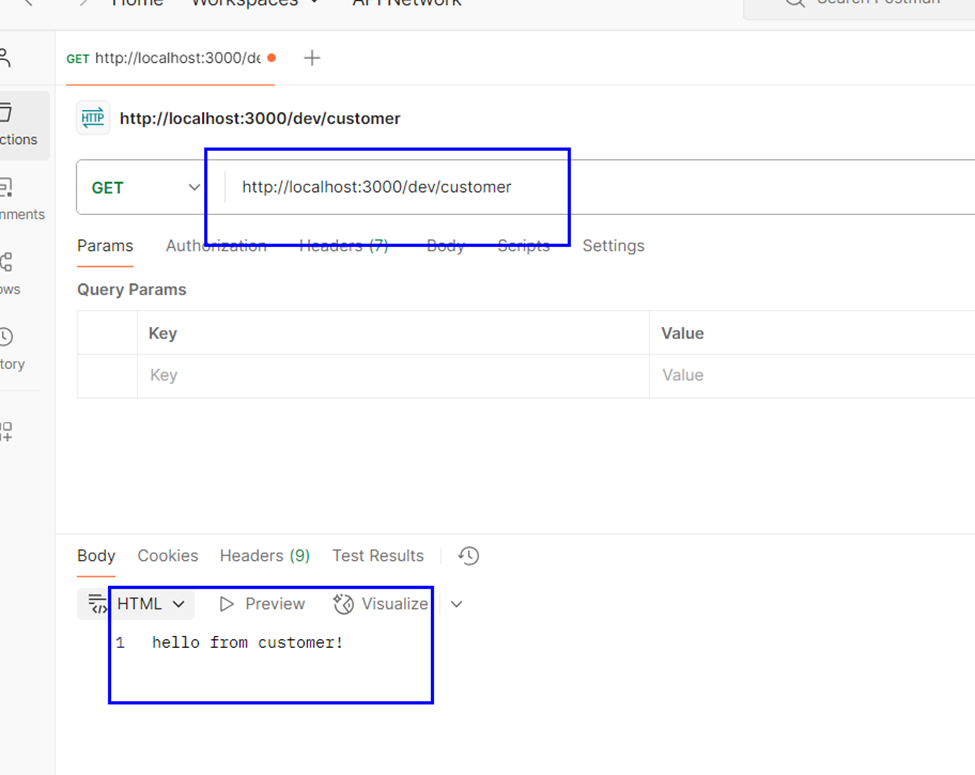
Now let us test the api using the famous tool “postman”
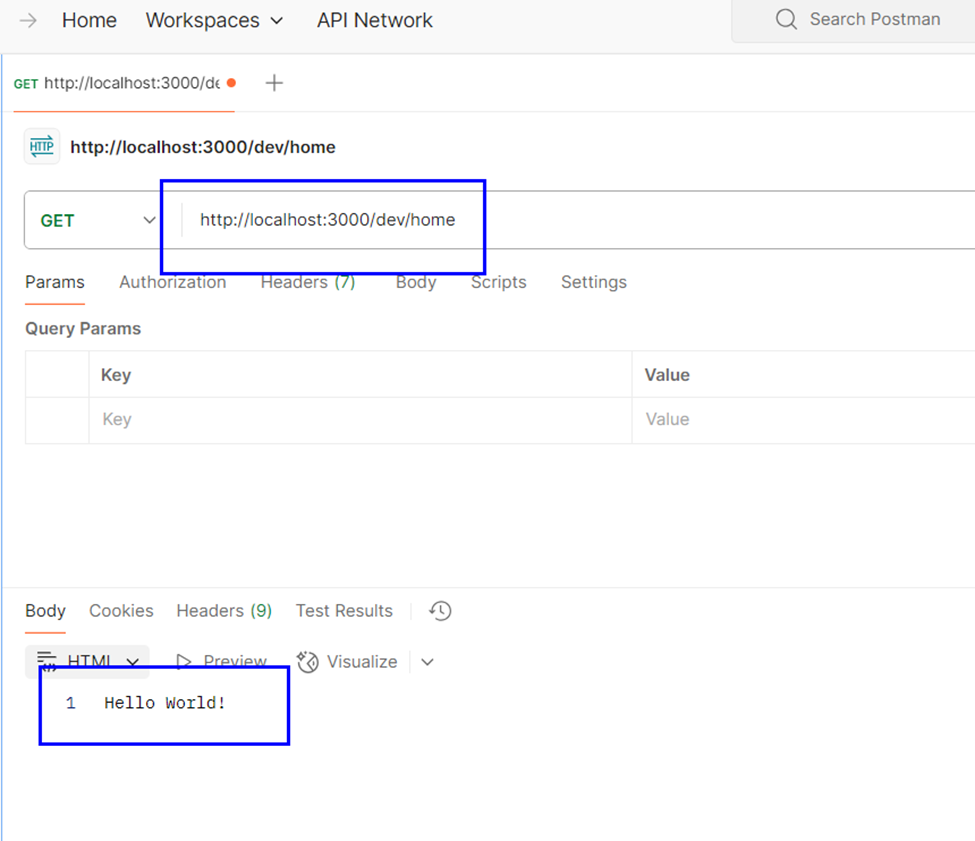
It is working fine as expected, let us add another route to see
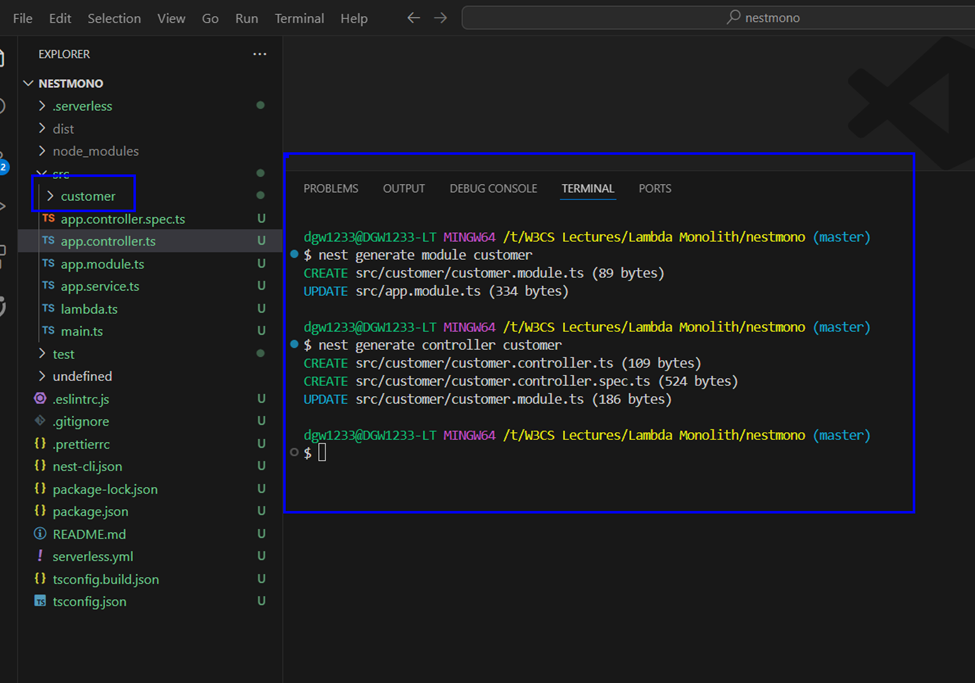
run below commands, to create new module and controller to the application!
nest generate module customer
nest gererate controller customer
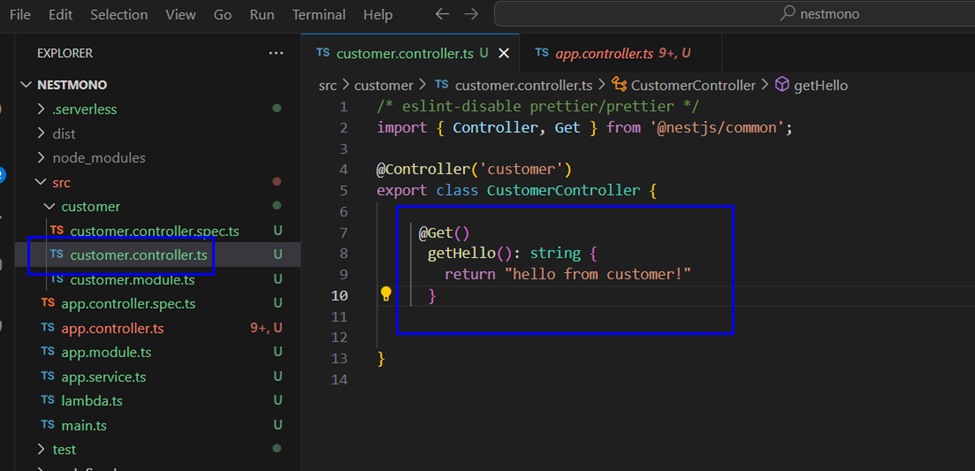
Add a get method of the newly created customer controller
Let us again run below command in the terminal & see if we can get the response from new controller’s get method.
npm run local
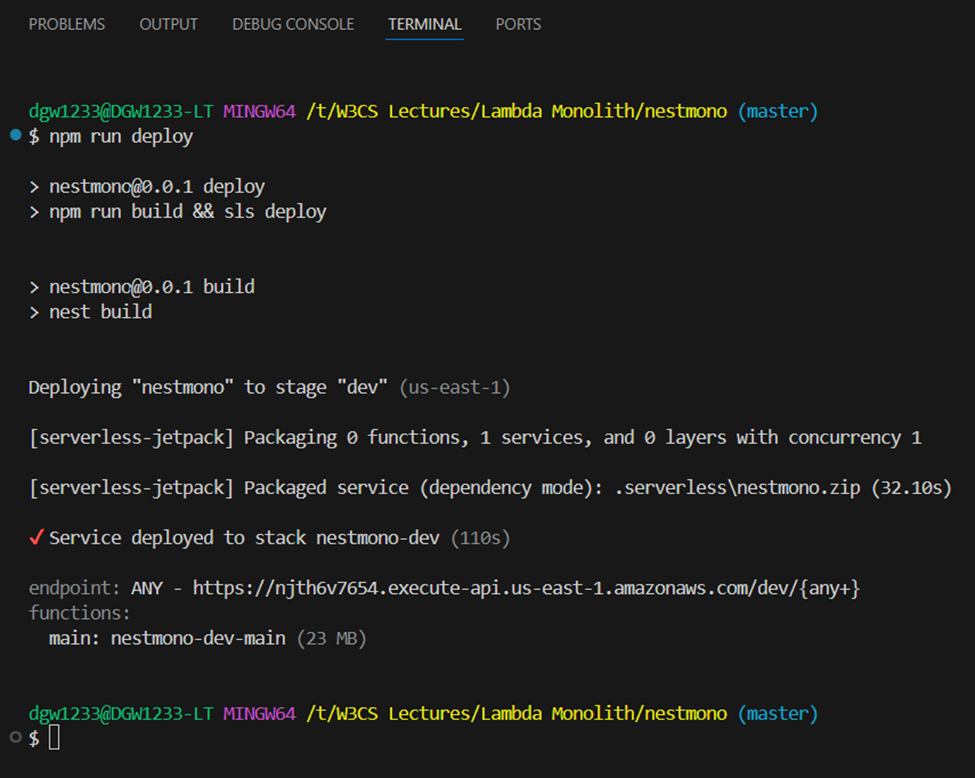
Now, run below command to move it to production (let us create them on aws cloud)
run npm run deploy
Let us test the production URL now,
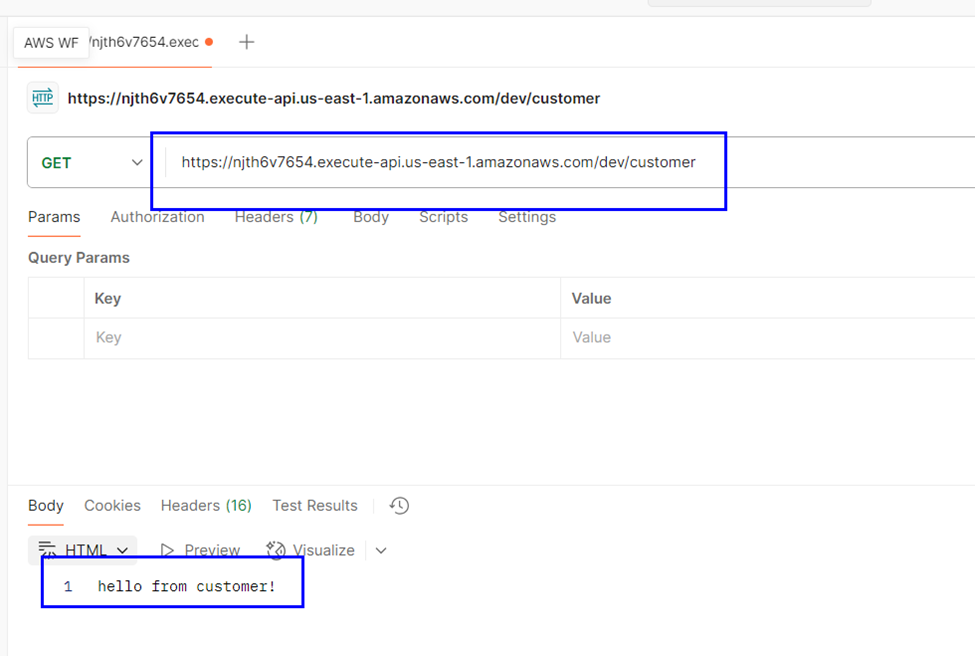
Wow , it is working nicely!
You may find the repo of this hands-on demo at below URL
https://github.com/abrly/nestmono
What’s Next?
This guide provides the basics of setting up a Monolithic Lambda with NestJS and the Serverless Framework. While this example demonstrates how to configure and deploy the setup, the following improvements can make it more robust:
- Add routes, services, and modules in your NestJS app to handle specific use cases.
- Integrate AWS services like DynamoDB, S3, or SNS to extend functionality.
- Add monitoring and logging using AWS CloudWatch.
- Explore advanced configurations like multi-environment support and CI/CD pipelines.
Conclusion
Using NestJS with the Serverless Framework is a straightforward way to create a Monolithic Lambda. This setup is an excellent starting point for small applications or as a foundation for learning serverless architecture.
With this setup in place, you can now focus on developing features, integrating AWS services, and optimizing your application for performance and scalability.
Happy coding!
Akbar Majeed
Author Akbar is a seasoned cloud solutions architect, software developer, and web developer with over 20 years of experience in the tech industry. With expertise in Angular, Node.js, Ionic, and a deep passion for AWS serverless technologies, Akbar specializes in building scalable and efficient applications. Currently delving into NestJS and serverless architectures, Akbar enjoys sharing knowledge and simplifying complex concepts for developers of all levels. When not coding, Akbar actively participates in Toastmasters, honing public speaking and leadership skills. for video lectures,follow youtube channel, https://www.youtube.com/@w3cloudstudio


I was wondering if you ever considered changing the structure of your
site? Its very well written; I love what youve got
to say. But maybe you could a little more in the way of content so people could connect with it better.
Youve got an awful lot of text for only having one or 2 pictures.
Maybe you could space it out better?
This paragraph gives clear idea designed for the new users of blogging, that in fact how to do blogging and site-building.